Finally, after preparing OllyDbg and WarFTP on our machine, its time to put reverse engineering in action.
What I do in this post is based on my sensei's book titled "Harmless Hacking". Lets get started.
- Start your Windows XP machine.


- Lets check the connection using nc
# nc 192.168.56.101 21
If the connection is working. Then this text will appear.
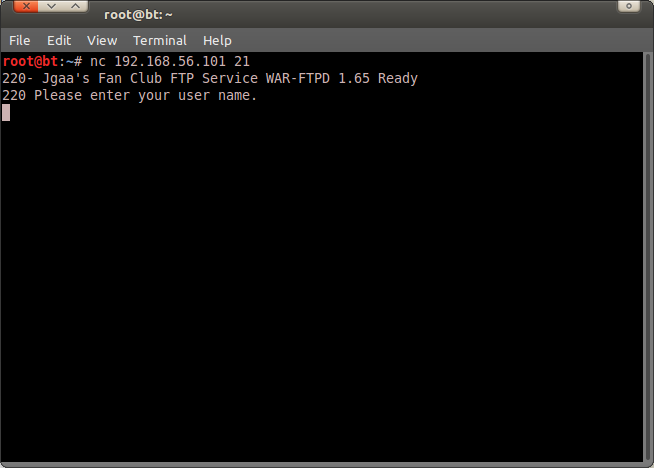
220- Jgaa's Fan Club FTP Service WAR-FTPD 1.65 Ready
220 Please enter your user name.
- Lets do some fuzzing first. Make a python file with this code inside.
Spoiler:
Save with .py extention.

- Lets execute the fuzzer (Make sure that you can see the machine window to see what happened at the software when we execute the fuzzer)

# python fuzzer.py
- Whoops, the program closes by itself. It is because WarFTP don't use SEH to handle an exception.
- Ok, next is the debugging process. Prepare your OllyDbg.
- Start your WarFTP again. Noticed something?


- At this point WarFTP can't start because its user configuration file as the results from our fuzzing process before is broken. To repair it, simply delete a file called "FtpDaemon.dat" at the folder where you install WarFTP. If you install it in the default directory, it should be located at C:\Program Files\War-ftpd.

- Start again your WarFTP. It should be running correctly.
- Create a new user by clicking this button below the menu bar.

Click Add

Choose the username

Enter the password for the account.

In this case I create user 'agoes' with a password 'agoes'
- Okay, attack the software using the fuzzer again. But before that, don't forget to start WarFTP service again.
- Lets see what happened at WarFTP by running it in OllyDbg.
- Start your OllyDbg and attach to the WarFTP service

- Attack again with the fuzzer and see what happen to the WarFTP and OllyDbg.
- Before using OllyDbg we can't see what happened with the WarFTP, but after using it, we can see what happened.
- As you can see here, EIP register is fully overwritten. This is dangerous because as you know, EIP stored what command that will be executed.

- Next step is to find where byte is EIP register overwritten. If you can find it, the byte at that address can be changed with a 32 bit value that contain an address of your payload. To help us find it, we can use metasploit.
- One of metasploit tools 'pattern_create' can create a structured dummy data. This will help us locate the real string in the packet data sent by our fuzzer.
- Enter metasploit tools directory
# cd /pentest/exploits/framework/tools
- To create a 1000 bytes data, execute this command.
# ./pattern_create.rb 1000 > patternku.txt
It will create a 1000 bytes string pattern saved as patternku.txt

- Next, change the fuzzer code with the generated string.
Spoiler:
- Execute the newly created fuzzer and see what happen to the OllyDbg.

- Next, we use other metasploit tool called 'pattern_offset'. This tool is used to calculate the byte created by pattern_create. The location is the same as pattern_create
- To execute the command, just add the value in the ESP and EIP after the command.
# ./pattern_offset.rb 32714131485
# ./pattern_offset.rb q4Aq5Aq493
- As you can see, to reach EIP register 485 bytes data is needed and to reach ESP register 493 bytes data is needed. Based on this we can conclude that EIP register will be overwriteen at 486, 487, 488, and 489.
- To make sure that this concept is true, lets put it on a test.
- Modify the fuzzer script that we've created before.
Spoiler:
- Once again, attack with the fuzzer and see what happen in OllyDbg

- Jackpot! Successfully overwritten
- Next, we try to overwrite the ESP register.
- Once again, modify the fuzzer code.
Spoiler:
- Again, run the fuzzer and see what happen in OllyDbg

- Bingo, all stack only contain the NOP value that we sent and the EIP is still overwritten.
At this point, we've gain the control over ESP and EIP registers.
- Next thing that we must do is find out the location of the process that read the stack in the memory. To do this, we can use 'JMP ESP' to help us. JMP ESP is a command used by the application to read the data inside the buffer memory.
- So, how to find JMP ESP in WarFTP. Using the help of OllyDbg' module we can do that easily.
- Start your OllyDbg and attach to the WarFTP service.
- Click View > Executable modules, a window showing all library used by WarFTP while running.

- We will choose shell32.dll as the target. Double click it.
- After that, at the main window right click > search for > command, a new window will appear to search a command. Enter 'JSP ESP' in the search box.

- Transform the offset memory address to a little endian.
In my case, 7C9D30D7 will be \xD7\x30\x9D\x7C
- Modify the fuzzer again.
Spoiler:
- Run the fuzzer and see what happen in OllyDbg

- Success, WarFTP point the system to read the buffer stack.
- As you notice here, EIP register's value changed into 00AFFD59. Why? because EIP store the command that will be executed next. To make sure address 7C9D30D7 is really read by EIP, lets do some test.
- Give a breakpoint at 7C9D30D7, run the fuzzer and watch the result in OllyDbg.


As you can see, OllyDbg preventing access to address 7C9D30D7. EIP value 7C9D30D7.
- Next thing we must do is creating a payload to be inserted in the fuzzer. We will use msfweb to generate the payload code.
- Enter the msfweb directory located in the framework2

- Open the address provided in the browser. Usually 127.0.0.1:55555 or localhost:55555

- Click "PAYLOADS" on the menu because we only want to create payload.
- Filter the list by choosing "os::win32" at the filter options.

- I'll use windows bind shell. This will spawn a shell on the target.
- Fill out the required fields and when you're ready click "Generate"


- Next, we have to insert the code to our fuzzer
- Open WarFTP normally without OllyDbg
- Run the fuzzer

- Connect to the machine using telnet through the created port.


Great, It works. Looks like we've already owned the machine. :)
Our Reverse Engineering against WarFTP succeeded.
- Enter the msfweb directory located in the framework2
# cd /pentest/exploits/framework2- Start the service
# ./msfweb
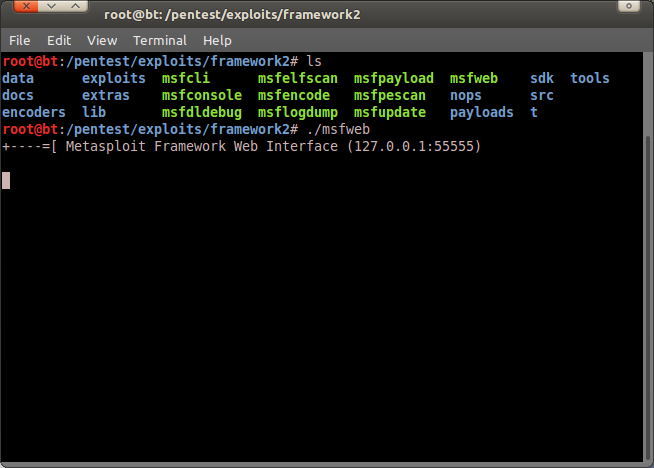
- Open the address provided in the browser. Usually 127.0.0.1:55555 or localhost:55555

- Click "PAYLOADS" on the menu because we only want to create payload.
- Filter the list by choosing "os::win32" at the filter options.

- I'll use windows bind shell. This will spawn a shell on the target.
- Fill out the required fields and when you're ready click "Generate"


- Next, we have to insert the code to our fuzzer
Spoiler:
- Run the fuzzer

- Connect to the machine using telnet through the created port.
# telnet 192.168.56.101 4444


Great, It works. Looks like we've already owned the machine. :)
Our Reverse Engineering against WarFTP succeeded.
"the quieter you become, the more you are able to hear.."

0 comments:
Post a Comment